Welcome to

Patio Link Pet Doors

Patio Link is an Australian Manufacturer creating premium quality pet door inserts for sliding doors and windows

Pet Door & Window Inserts

Popular Collections

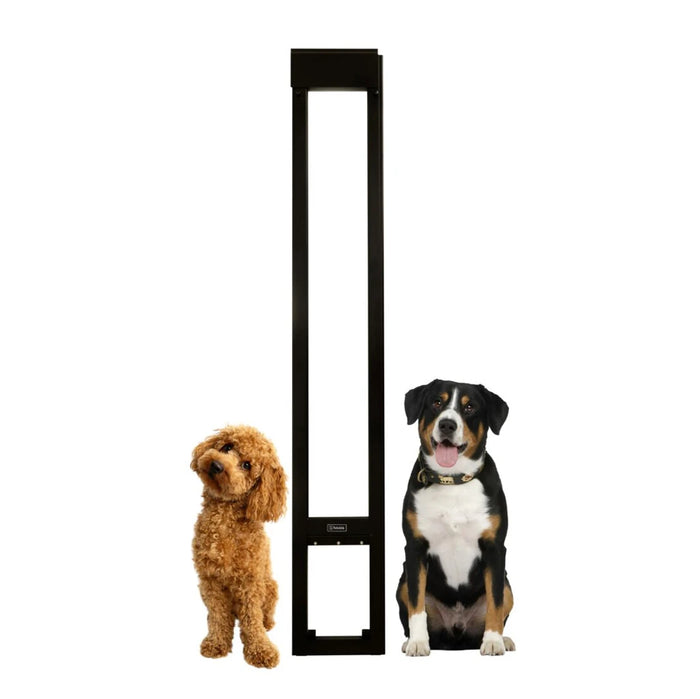
Need a doggie door solution? Patio Link have got you covered, with our range of fully lockable Patio Door Inserts. Easy to install and renter friendly! 

Pet Door Inserts

Patio Link pet doors offer huge range of sizes and colours. Our inserts are Fully lockable, easy to install and Ideal for Renters. Australia wide delivery.

Pet Window Inserts

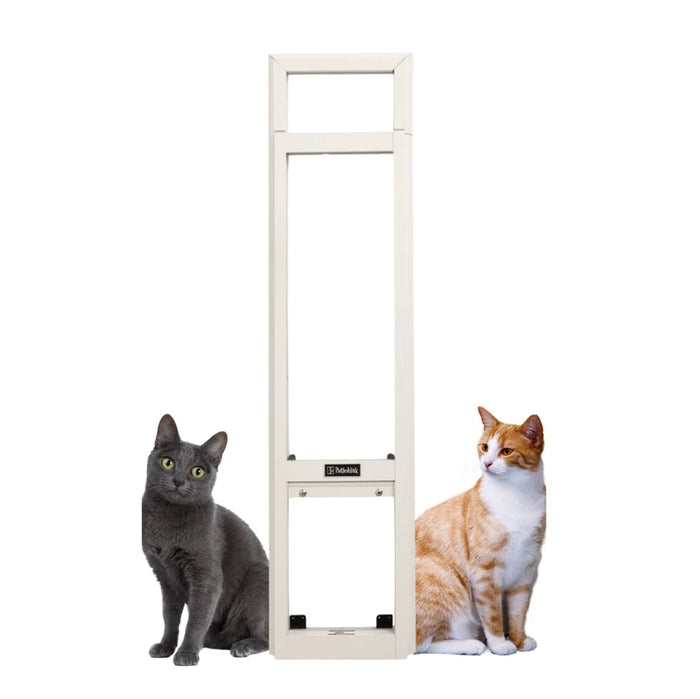
Did you know Patio Link offers a Cat Window insert for sliding windows too! Ideal for cats up to 10kgs.

Insert Accessories

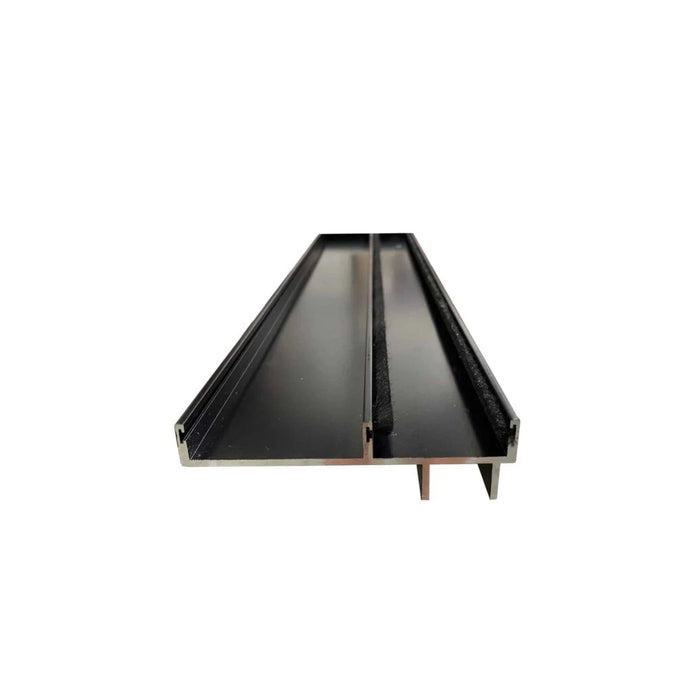
We've got adaptors & accessories to ensure your Patio Link Pet Insert fits into your sliding doors perfectly!
Located on the Gold Coast

Australia’s Original No.1 Pet Door Insert Manufacturer

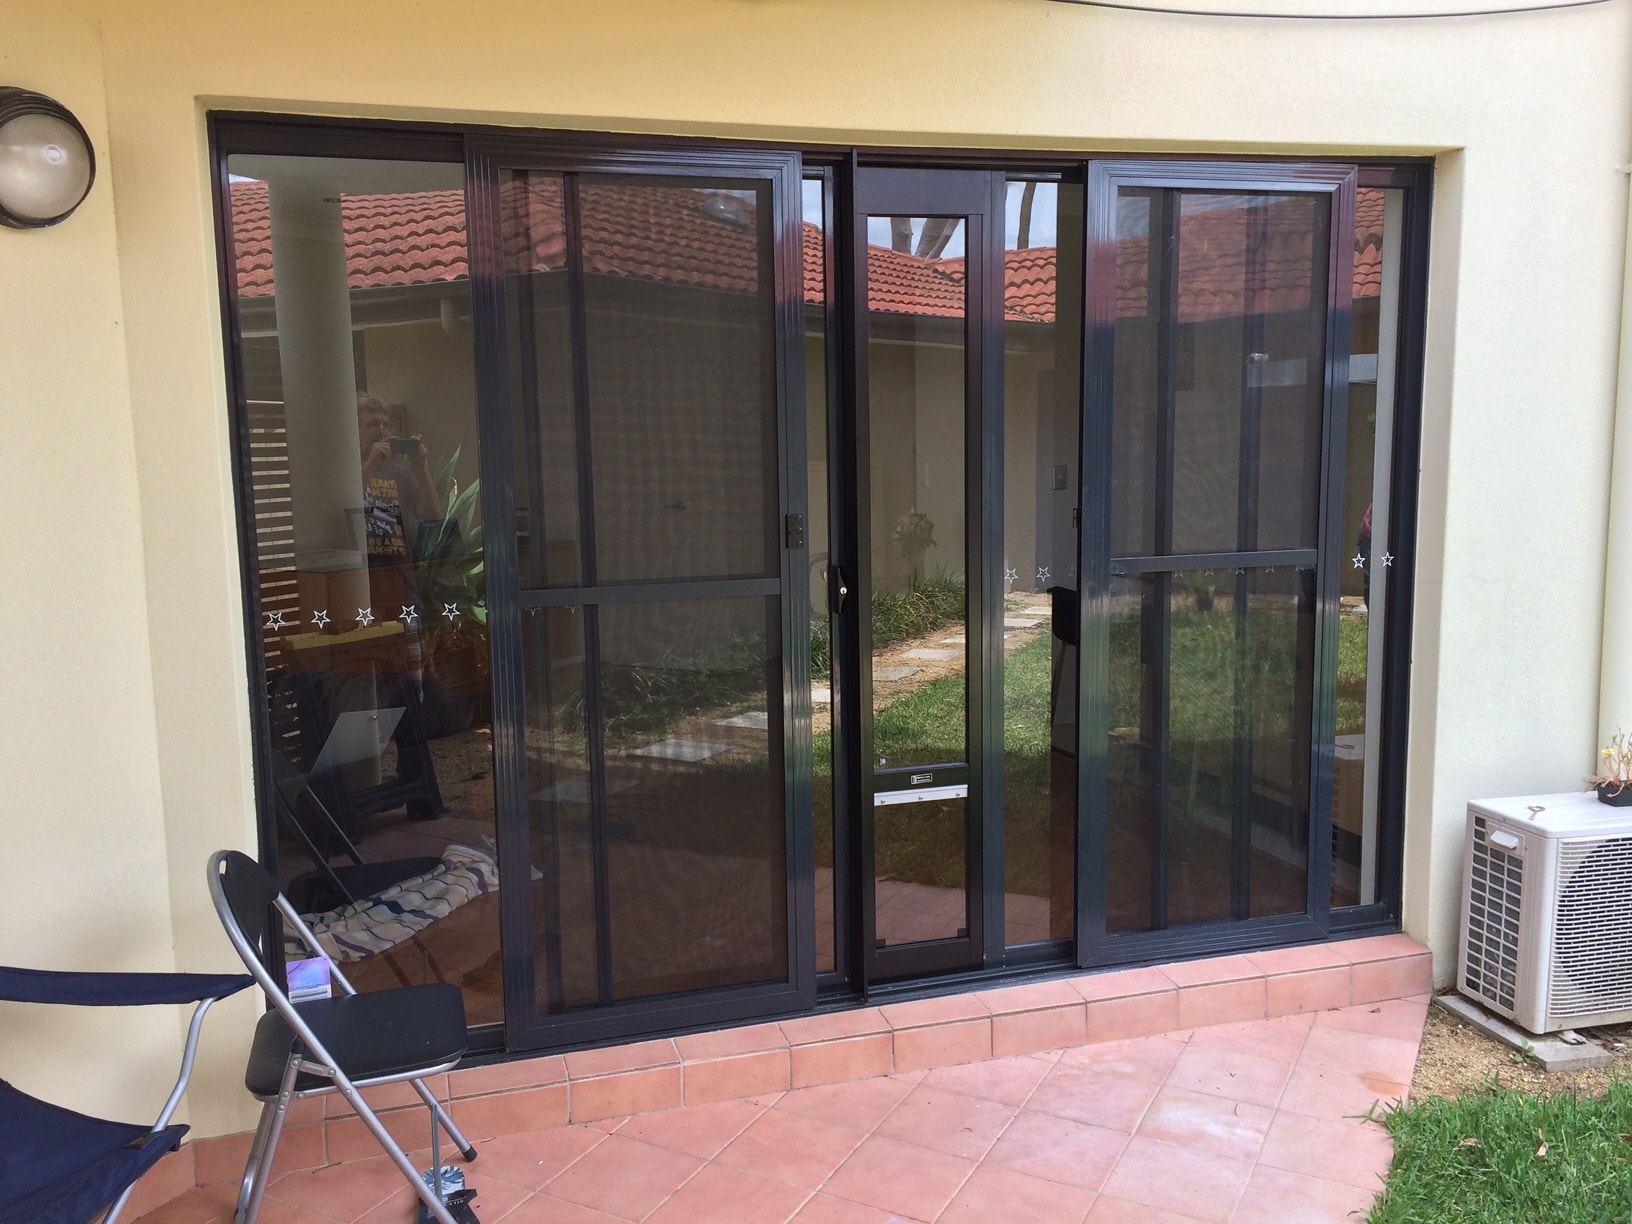
Patio Link Pet doors can be installed in most Australian sliding doors fully lockable and secure without any damage to your doors. This makes our pet doors the best on the market and ideal for renters. When you move – take it with you! 

Watch the video to see how Patio Link compares to other pet doors. 

Play Video

Install the Pet Door Insert in seconds!

Install in 4 easy steps

Installing a pet door insert from Patio Link is a breeze. Let’s walk you through the simple steps:

Step 1: Measure and Assess Compatibility

Before diving into the installation process, it’s essential to check if your doors are compatible. Important  to  measure your sliding glass door height from top inside channel all the way to the bottom inside channel.

Our standard height pet door inserts fit height range between 2.0-2.1m tall. If your doors are under 2m or taller than 2.1m then you w ill need our custom height pet door insert.  Contact us at sales@patiolink.com.au

Step 2: Insert the Pet Door

Once you’ve confirmed compatibility, it’s time to insert the Pet Door Insert. Simply open your sliding door and insert the Pet Door Insert into the bottom channel. Lean it against the wall or sliding door frame. It’s a hassle-free process that takes just a few seconds. 

Step 3: Extend and Lock the Panel

Turn the two black turn knobs anticlockwise to extend the adjustable panel into the top channel of your sliding door. Once extended, turn  the turn knobs clockwise to lock the panel in position. This ensures a secure and stable installation. 

Step 4: Weather Seals

Included in your delivery package is a weather strip (mohair strip). Insert this into the side channel of your Pet Door Insert that will be in contact with your glass sliding door. The weather strip prevents any drafts and ensures a tight seal.

See what our customers have to say

Reviews & Testimonials

Do you have feedback too? Click below to leave us a review 

Our Latest Posts

From the blog

Want us to check if your sliding doors & locks are compatible for installation?

Simply email few photos of your sliding doors including both locks and one of your bottom track of your glass sliding door and our customer service will check and confirm if your sliding doors are ok and compatible for installation and locking: Email: sales@patiolink.com.au

Our pet door inserts are DIY Installation, however if you need help with installation we do have handyman contact.

Speak to one of our friendly staff today!

Would You Like A Quote?

Offer for New Customers

Get $10 off!

Start your shopping with a better price.

Don’t miss out on our Exclusive Special Offers & News delivered to your inbox! Simply enter your name and email below to get your discount coupon & future product updates.

"*" indicates required fields

This field is for validation purposes and should be left unchanged.